Hey everyone,
All credit for the back-end code of the registration goes to @rsakeys . The front-end I believe was made in bootstrap, although put together by Roan, credit to him for that. Flake is an external register.
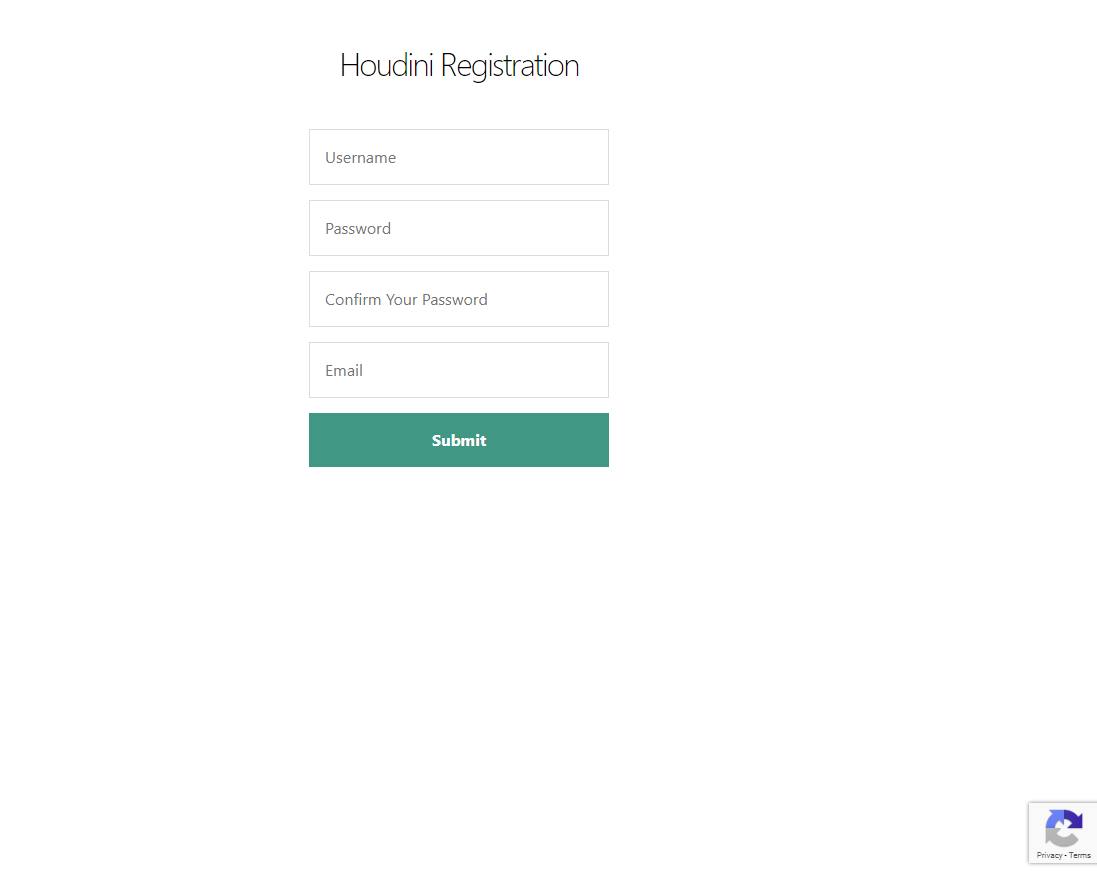
If you’d like to see the registration system in action, you can view it here, https://create.cpps.icu/.
DOWNLOAD: https://github.com/rsakeys/Flake-Register
I will first be covering on how to setup the registration system on localhost, then afterwards, on a virtual private server.
REQUIREMENTS:
-
XAMPP installed
-
A virtual private server running on preferably 16.04, 17.04 or 18.04.
-
PuTTY or Terminal (macOS)
-
Notepad++, Visual Studio Code, Sublime Text, Brackets, or any other code editing software.
This register was default created for AS2, although you shouldn’t have any problems converting the register into AS3.
What will we be going over?
-
Installing NodeJS
-
Installing the required dependencies for the register
-
Lisening on port 4444 (you can use any port you want to)
Setting up Flake on localhost
First, you will need to download NodeJs, https://nodejs.org/en/download/.
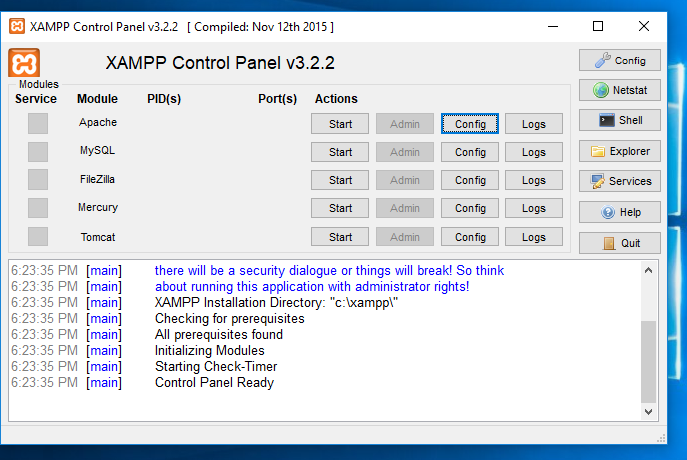
You will need to open XAMPP and turn on apache and mysql. Then, open Command Prompt on Windows. Execute the following command, **cd [directory]**, ex: cd C:\xampp\htdocs\create for Windows.
Now, we’re going to install the dependencies.
Type the following commands one by one
-
npm install --save bcrypt
-
npm install --save connect-flash
-
npm install --save ejs
-
npm install --save express
-
npm install --save express-recaptcha
-
npm install --save md5
-
npm install --save mysql2
-
npm install --save request
-
npm install --save sequelize
Now that you have installed the dependencies, we are going to edit the config file.
Navigate to the Config.js file, in your create folder.
If you want to change the port other than the default 4444, you can edit the code at the top.
You will need to edit the following code
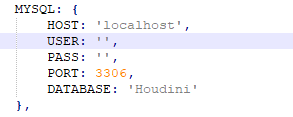
Add your MySQL details, user is root by default and the ‘database’ should be the name, it can be what you prefer, but make sure that’s what it’s named in the database.
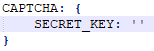
Flake uses recaptcha v3, input the secret key once you’ve registered a new site.
Make sure, to navigate to the /views/index.html file and edit the script
Replace the “SITE_KEY_HERE” with your given site key. Also, edit the script with the function below the script that we edited above with your site key.

To get the subdomain working on localhost for Windows, go to XAMPP
Click the “Config” button, next to “Apache” and click on “ [Apache]”, next go to the conf folder, then extra and click on httpd-vhosts.conf.
Add the following code to the bottom of the file.
<VirtualHost *:80>
ServerAdmin [email protected]
DocumentRoot "C:/xampp/htdocs/create"
ServerName create.localhost
ErrorLog "logs/create.localhost-error.log"
CustomLog "logs/create.localhost-access.log" common
Save the file and you can close Notepad.
Restart apache, stop it, then start again.
Go to Command Prompt for Windows or Terminal for macOS and CD to the directory of which the create folder is in.
Type the following command
node Boot.js

Congratulations, you have successfully setup Flake Registration!
If the output shows something else, be sure to ask for help in the Solero discord, if you can’t fix it.
Go to http://create.localhost:4444/
Replace 4444 with the port you have in the Config.js.
Setting up Flake on VPS
First, open PuTTY for Windows or Terminal for macOS.
Once, you’ve gained SSH access, CD to the directory of which your main files are, most likely kept in /var/www/.
Once, you CD, afterwards, execute the following command
mkdir create
Then, type cd /var/www/create
Next, type sudo apt install nodejs
Then, type sudo apt install npm
You have now installed NodeJS successfully, as well as npm.
Repeat, the steps above like you did for localhost when installing the dependencies.
Dependencies
-
npm install --save bcrypt
-
npm install --save connect-flash
-
npm install --save ejs
-
npm install --save express
-
npm install --save express-recaptcha
-
npm install --save md5
-
npm install --save mysql2
-
npm install --save request
-
npm install --save sequelize
Next, locate to the Config.js, if you want to change the port to something other than the default port 4444, edit the code at the top of the file.
Edit the MySQL details to match yours.
Then, go to google recaptcha and click on ‘register new site’. Click on V3 and add your domain to it.
Paste the given secret key.
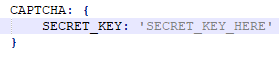
Make sure to edit, the index.html file in the views folder and add the site key.
Search for the two lines below.
<script src="https://www.google.com/recaptcha/api.js?render=SITE_KEY_HERE"></script>

  <script>
grecaptcha.ready(function () {
    grecaptcha.execute('SITE_KEY_HERE', { action: 'home' }).then(function (token) {
        var recaptchaResponse = document.getElementById('recaptchaResponse');
        recaptchaResponse.value = token;
    });
});
To get the subdomain working on your domain, you will need to type the following command in your terminal.
sudo nano /etc/nginx/sites-available/create.domain.com
Replace ‘domain.com’ with your domain name.
Paste the following code in the file.
server {

server_name create.domain.com;

location / {
  proxy_pass http://localhost:4444/;
 }
}
Edit, the domain.com with your domain name and if you changed the port in your Config.js, edit the location block above with your port instead of 4444, if you kept it as 4444 in your Config.js, keep it the same in this file.
Press Ctrl+X for Windows or cmd X for macOS to save the file.
Type the following command in your terminal.
ln -s /etc/nginx/sites-available/create.domain.com /etc/nginx/sites-enabled/create.domain.com
In place of domain.com, add your domain.
To restart nginx, type the following command, sudo systemctl restart nginx.
Make sure you have added the DNS to Cloudflare (if you’re using Cloudflare).
Next, go to the create directory.
To do that, type the following command.
CD /var/www/create or CD [path]
Execute the following command, node Boot.js.
To run the file 24/7 I would suggest installing Nodemon or PM2.
I will be using PM2 for this tutorial.
Type the following command.
npm install pm2 -g
Then, start your application by typing.
pm2 start Boot.js
Congratulations! You have successfully started your NodeJS application. You have setup your register.
You can locate your register, by going to the url http://create.domain.com
Make sure to put in your own domain.
After, registering your account, you can access your database management software (desktop or web), go to the Houdini table and you should be able to see the new user inserted.
Some things to consider
-
Have you installed nginx or NodeJS
-
Are the dependencies installed correctly?
-
Did you reload or restart nginx after editing the subdomain file?
-
Have you added the create DNS record?
-
Make sure the Config.js file was correctly edited
-
You can view the developer tools if there is an error, or if you’re missing any files.
If you need any help you can contact me on discord, Hawk#0078 or ask in the Solero discord.
If there are any mistakes, please let me know.
Thank you,
Hawk