Hey everyone! I decided to make a basic checklist of setting up an AS2 CPPS. I’ve known my way around the client for some time now, so here it is.
Note: This is meant to be done after following the tutorial on solero.github.io for Ubuntu and the registration. Or, you can use this: https://github.com/rsakeys/Flake-Register
-
Make root password secure.
So the first thing you need to do is change the root password. Just get a CodeIgniter Encryption Key on https://randomkeygen.com/ as it’s very secure and hard to guess. You can also disable root if you’d rather do that. There’s plenty of tutorials. -
Install datagrip & connect to the database
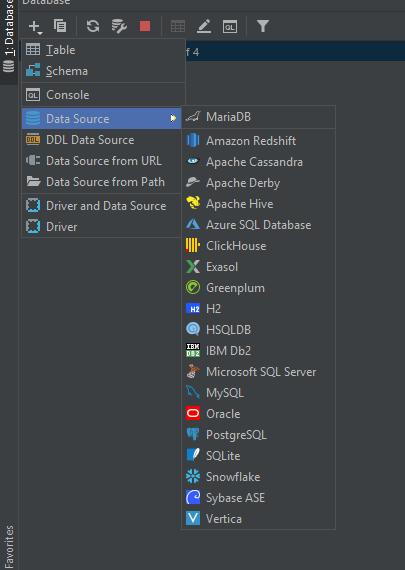
Go to Download DataGrip: Cross-Platform IDE for Databases & SQL and download it. It does cost money, but It’s worth it. To connect to a database, click on the plus sign, go to Data Source, and click on whatever you’re using. In my case, I’m using MariaDB.
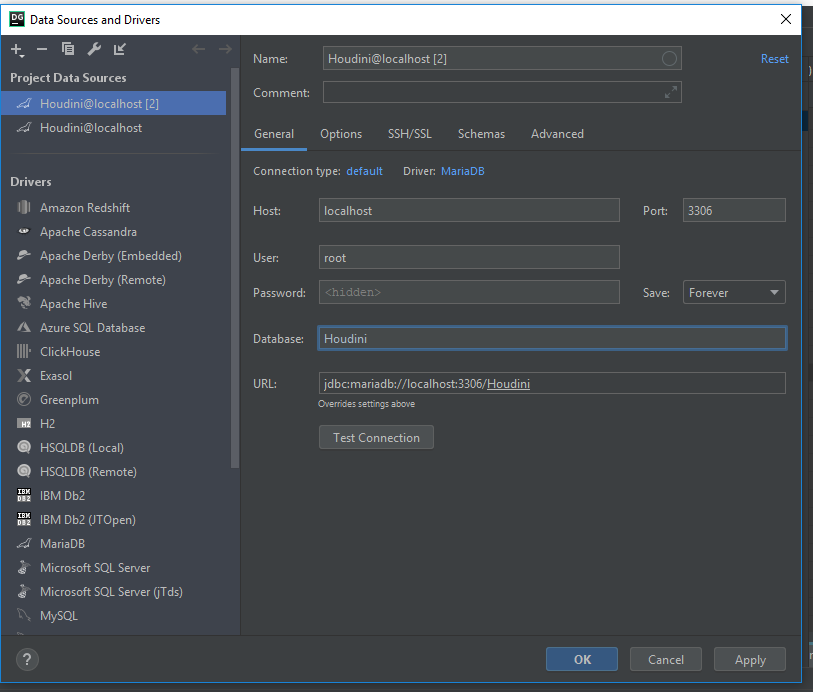
Then, use these settings:
Set the host as localhost, the user as root, and the password as your mysql password. Then, set the database as Houdini. You might need to install some drivers.
WAIT! You’re not done. Go to SSH/SSL and click Use SSH Tunnel. For the proxy host, use your server’s external ip. For the user, use root or whatever user you have to connect to the server. Finally, use your root password for the “Password” field.
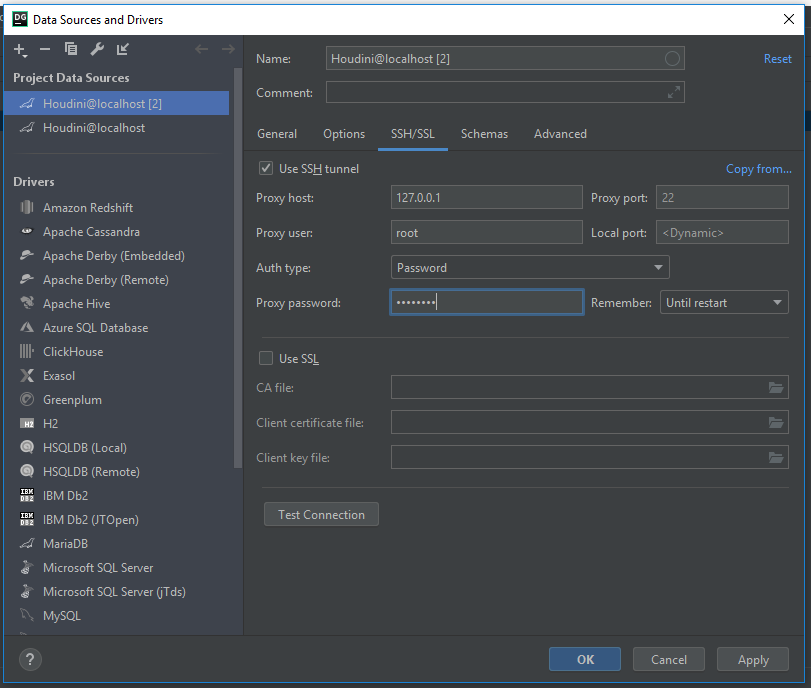
Press the Test Connection button and it should be successful.
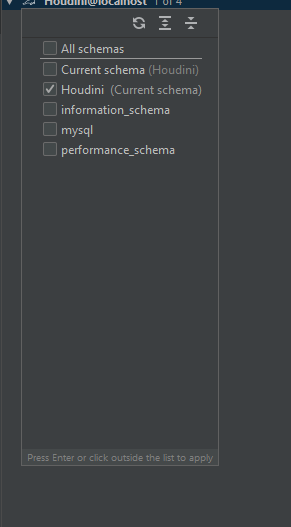
On the side you should see something like this:
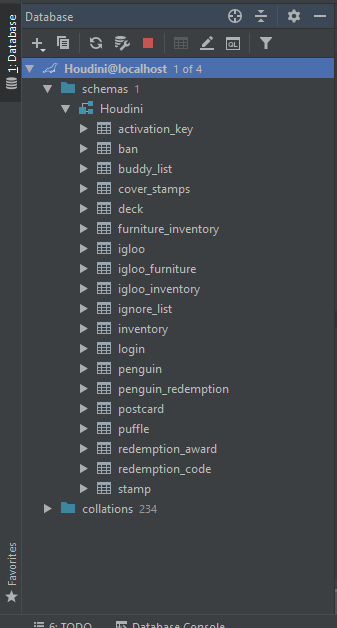
If you don’t see this, right click “Houdini@localhost” and under database tools, click “Manage shown schemas”.
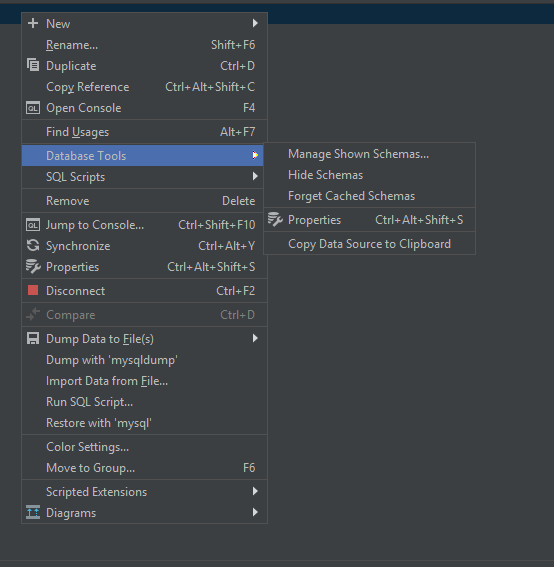
Then click “Houdini”.
Congrats! You’ve successfully connected to the database. -
Delete the basil account.
For security reasons, you want to delete the account named basil.
You should see an account named “basil” in the “penguin” table. Before doing anything, Create an account through the Houdini register or Ro’s flake register (posted at the top). After you do that, right click it, and press delete. To make the change take effect, press this button at the top. After that, you’ve deleted basil.

-
Setting up the mascot accounts
HASHES - Pastebin.com
Copy the code in the pastebin link and paste it into your code editor. Then, go to https://solero.github.io/password and put in the password you want. It will come out as a string of symbols we call a hash. Copy the has and use Find and Replace to set the passwords. Find PASSWORD_HERE and replace it with that hash you just got. Replace all of them.

In putty, use the command mysql -p.
It will ask you for your mysql password. After entering it, enter the query you just modified.
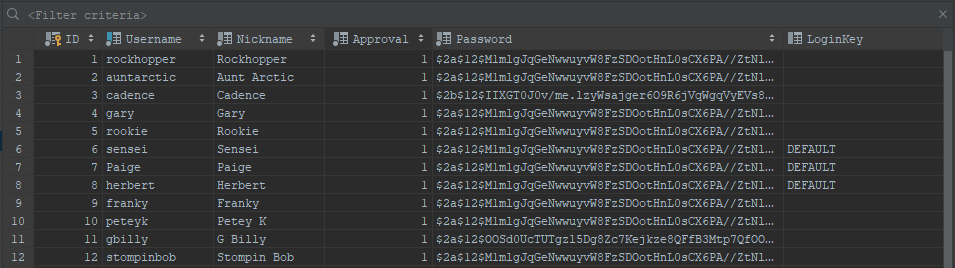
After that, refresh in datagrip and you should see something like this.
We’ll come back to Mascots later when we’re configuring the media-server.
- Download solero’s decompiled swf files
Go to this link and download it. Decompile it in winrar or 7-zip https://i.succ.in/2hPLmtDU.rar
The inside should look like this:

You’ll be able to use this to edit rooms, interfaces, client files, mini-games and more.
-
Install Flash Professional
Look for a flash professional crack. Make sure to check files before installing them. Always be smart about it. I am not responsible if you download anything unwanted on your computer. Ask people in Solero’s discord server for an install if you’d like. -
Enable HTTPS on the server.
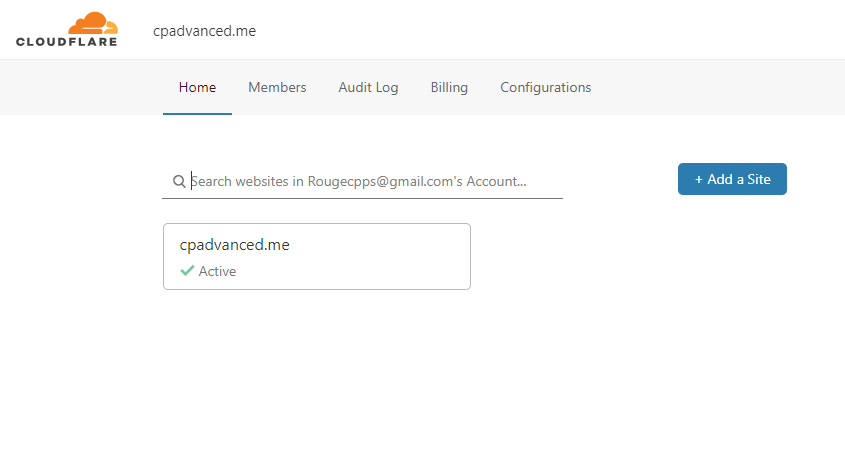
Log into your Cloudflare account. Then go to your domain. It should look like this.
Click on your website, and at the top you’ll see a tool bar like this.

click on Page Rules. Then, you’ll see this.
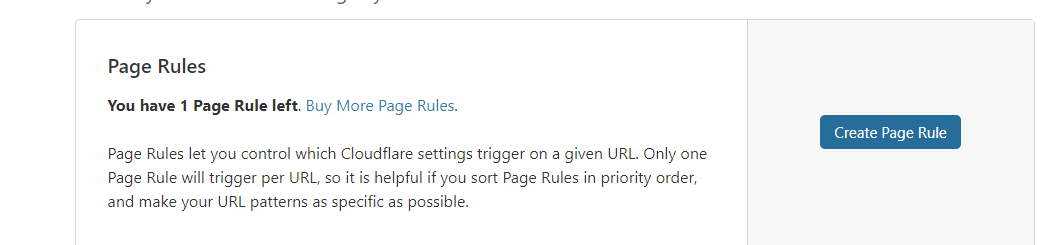
Click Create Page Rule, enter your subdomain and select “Always use HTTPS” for the page rule. Do this for all subdomains.
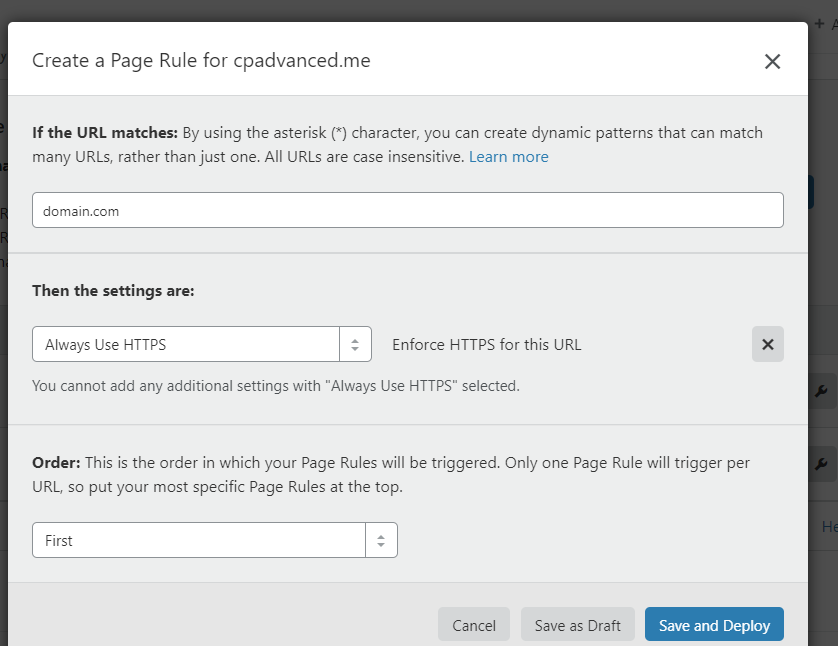
DO NOT USE HTTPS ON THE PLAY SUBDOMAIN -
Set up mascots in the global crumbs
I said we’d come back to the mascots. In filezilla, go to/var/www/media/play/v2/content/global/crumbsand download it.
I’m assuming that you have FFDEC, but on the off-chance that you don’t, download it from here:
GitHub - jindrapetrik/jpexs-decompiler: JPEXS Free Flash Decompiler
Open the global_crumbs.swf file that you just downloaded with FFDEC, then search for var mascot_options = new Object();. Then, you should see something like this:
var mascot_options = new Object();
mascot_options.migrator_active = true;
var rockhopper = {name:"Rockhopper",gift_id:959};
var auntArctic = {name:"Aunt Arctic",gift_id:9021};
var cadence = {name:"Cadence",gift_id:9015};
var gary = {name:"Gary",gift_id:9007};
var franky = {name:"Franky",gift_id:996};
var peteyK = {name:"Petey K",gift_id:996};
var gBilly = {name:"G Billy",gift_id:996};
var stompinBob = {name:"Stompin Bob",gift_id:996};
var sensei = {name:"Sensei",gift_id:9036};
var mascot_crumbs = new Object();
mascot_crumbs[1] = sensei;
mascot_crumbs[2] = auntArctic;
mascot_crumbs[3] = cadence;
mascot_crumbs[4] = gary;
mascot_crumbs[5] = franky;
mascot_crumbs[6] = peteyK;
mascot_crumbs[7] = gBilly;
mascot_crumbs[8] = stompinBob;
mascot_crumbs[9] = franky;
mascot_crumbs[10] = rockhopper;
replace it and everything below it with this code:
var mascot_options = new Object();
mascot_options.migrator_active = true;
mascot_crumbs[1] = {name:"Rockhopper",gift_id:959};
mascot_crumbs[2] = {name:"AuntArctic",gift_id:9021};
mascot_crumbs[3] = {name:"Cadence",gift_id:9015};
mascot_crumbs[4] = {name:"Gary",gift_id:9007};
mascot_crumbs[5] = {name:"Rookie",gift_id:9095};
mascot_crumbs[6] = {name:"Sensei",gift_id:9036};
mascot_crumbs[7] = {name:"Paige",gift_id:9135};
mascot_crumbs[8] = {name:"Herbert",gift_id:9173};
mascot_crumbs[9] = {name:"Franky",gift_id:996};
mascot_crumbs[10] = {name:"PeteyK",gift_id:996};
mascot_crumbs[11] = {name:"GBilly",gift_id:996};
mascot_crumbs[12] = {name:"StompinBob",gift_id:996};
Now, here’s the formula. After mascot_crumbs, there is a number between the pair of brackets. That number is the penguin id. the in the next pair of brackets, the username of the penguin is there where it says name. then gift_id is the background that they give away. Save and upload the file to the web-server.
- Migrator
This is going to be a quick one, but to hide the migrator, findmascot_options.migrator_active = true;in global_crumbs.swf and changetruetofalseto hide it. Save and upload the file to the web-server.
Clear your cache in cloudflare under Caching, click “purge everything” and then clear your own cache. When updating the global or local crumbs, you need to refresh the browser for everything to take effect.
Good job! You made it to the end! If you have any questions, contact Rouge#3278 on discord or leave a comment. Thanks for reading!